This guide explains how to create a Form page in Oracle APEX using a database table. With this form, users will be able to insert, update, and delete records directly from the application.
Prerequisites
In your Oracle database schema, create the EMP table using the following script:
CREATE TABLE EMP
(
  EMPNO NUMBER GENERATED BY DEFAULT ON NULL AS IDENTITY
         MINVALUE 1
         MAXVALUE 9999999999999999999999999999
         INCREMENT BY 1
         START WITH 1545
         CACHE 20
         NOORDER
         NOCYCLE
         NOKEEP
         NOSCALE
         NOT NULL ENABLE,
  ENAME  VARCHAR2(100),
  SAL    NUMBER,
  COMM   NUMBER,
  JOB    VARCHAR2(100),
  DEPTNO NUMBER,
  CONSTRAINT EMP_PK PRIMARY KEY (EMPNO) USING INDEX ENABLE
);
Steps to Create the Form
Step 1: Log in to APEX
Open your APEX workspace.
Navigate to the Application you want to modify (or create a new one).
Step 2: Create a New Page
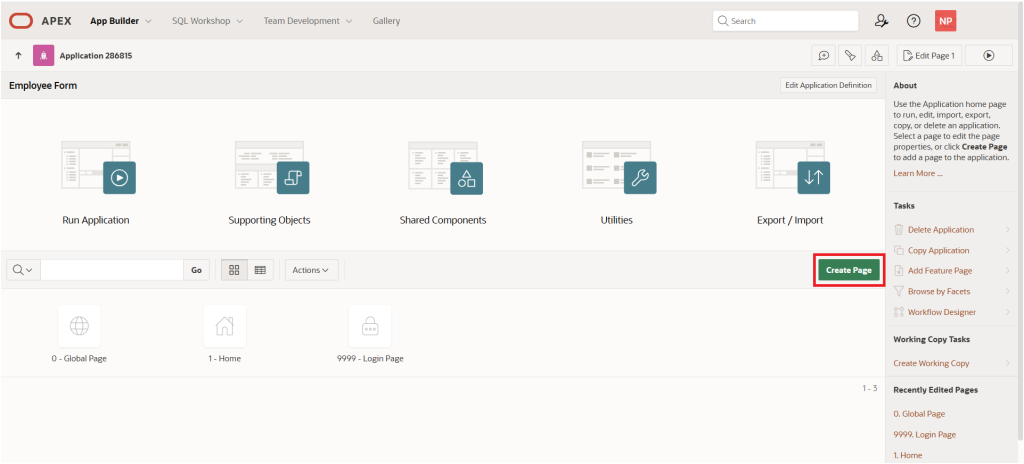
From the App Builder, click Create Page.
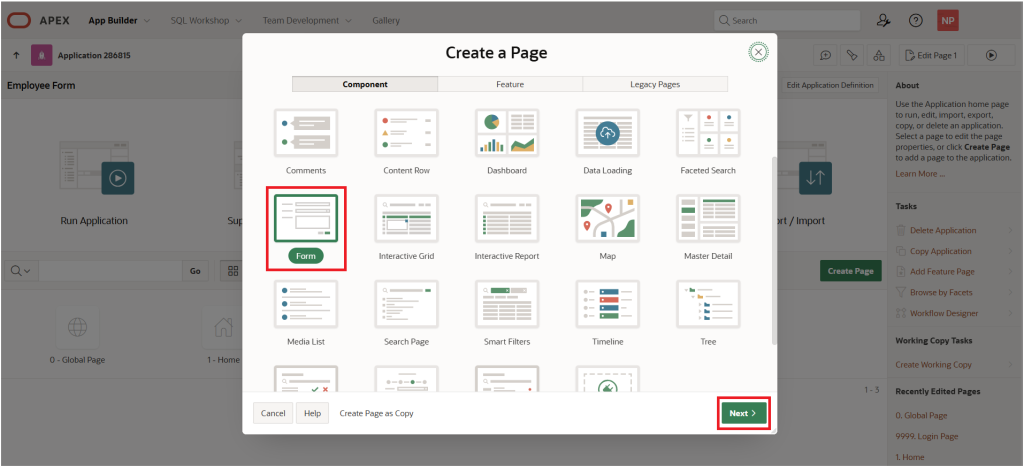
Select Form page from the Create a Page dialog page and Click on Next button
Here, Configure Create Form wizard as below
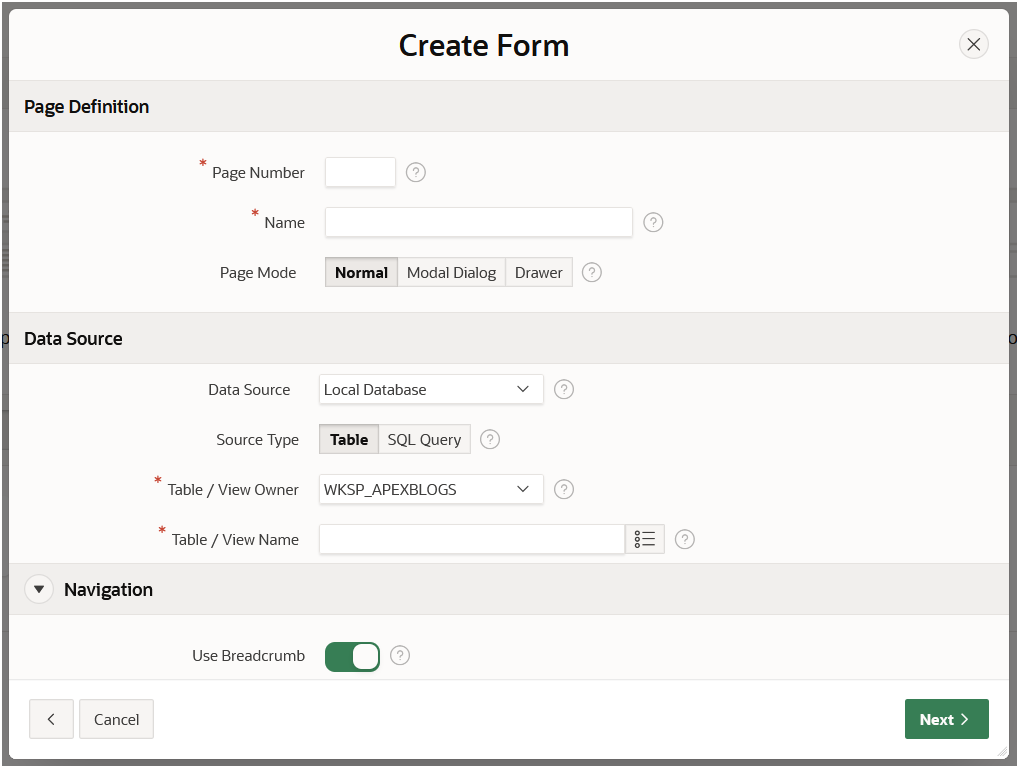
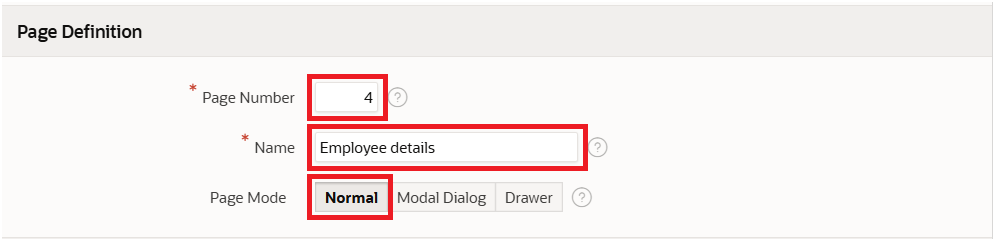
Page Definition
The Page number is system-generated. In our case, the page number is 4.
Provide the page Name. In our case, we have given it as “Employee Details”.
Then, select the Page Mode. In our case, we have set the page mode to ‘Normal’.
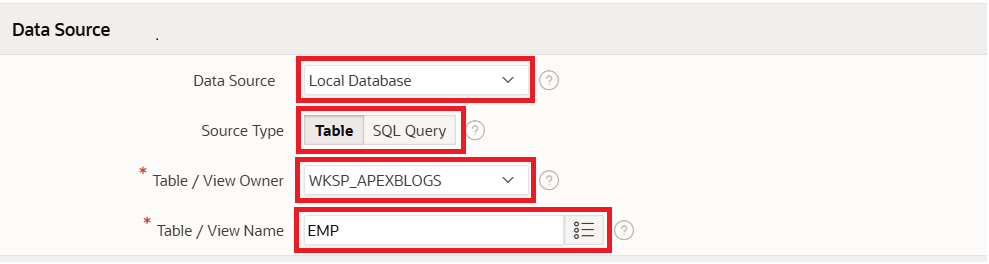
Data Source
Data Source : Selects the data source type for the form component,
1. Local Database : Data is sourced from the local database.
2. REST Enabled SQL Service : Data is sourced from a remote database, where the connection is defined using REST Enabled SQL.
3. REST Data Source : Data is sourced from a RESTful web service defined using REST Data Sources.
4. JSON Source : Data is sourced from a JSON Source defined using JSON Sources, within Shared Components.
In our case, we have selected Local Database
Source Type : Choose how the data will be queried.
1. Table / View : The data is retrieved based on a table or view.
2. SQL Query : The data is retrieved based on a SQL Query.
In our case, we have selected Table/View.
Table / View Owner : Select the owner or schema for the table or view you wish to use.
In our case, we have selected the default workspace “WKSP_APEXBLOGS”.
Table / View Name : Select or enter the table or view name manually on which the region will be based.
In our case, we have given the default table name as EMP.
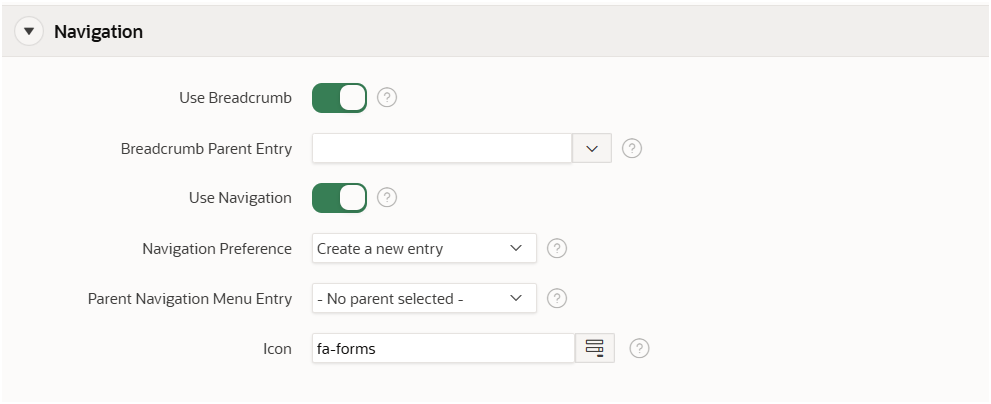
Navigation
Oracle APEX applications utilize various navigation components to facilitate user interaction and movement between pages.
Here, we have used the default settings for our application.
Enter all the required values for the form, then click Next button.
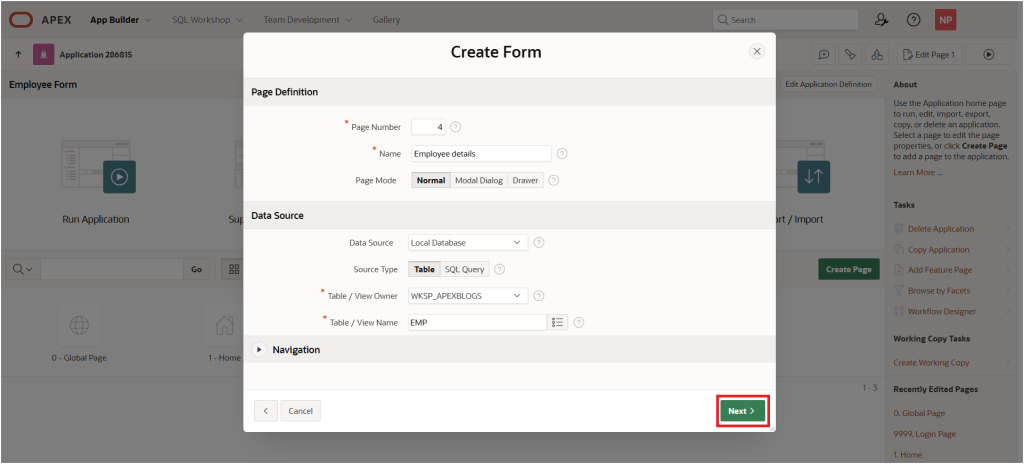
Click Next to go to the final configuration page, Create Form.
On this page, two region options will be displayed.
- Primary Key
- Branch Pages
Primary Key
For Primary Key Column 1 : Select primary key column.
Select the primary key. For example, choose EMPNO from the EMP table.
For Primary Key Column 2 : Select primary key column if it is there in EMP table
If there is no additional primary key column in the EMP table, leave this option blank.

Branch Pages
Choose the target page for branching once processing is complete.
Set Branch to Here on Submit to redirect the page after processing is complete.
Set the branch target to the Home page (Page 1).
Set Cancel and Go To Page to redirect to another page when the Cancel button is clicked.
Set the Cancel branch target to the Home page (Page 1).

Click the Create button to generate the form page.

Click Create Page to go to the Page Designer, where you can adjust the page settings.
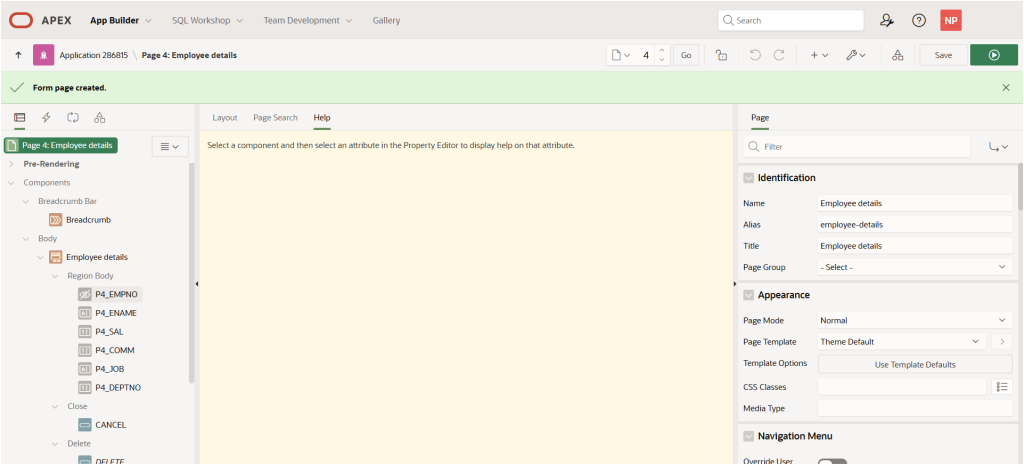
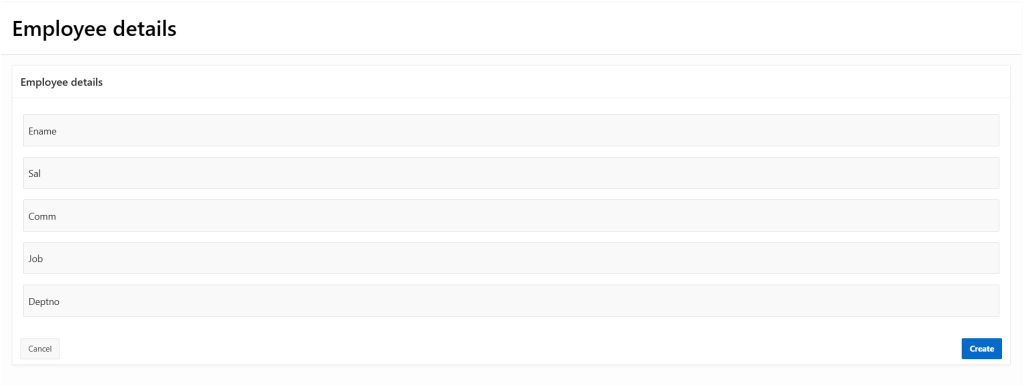
Run the page to see the output, which will look like the screen below.